How To Connect USB Mic to DSLR Camera
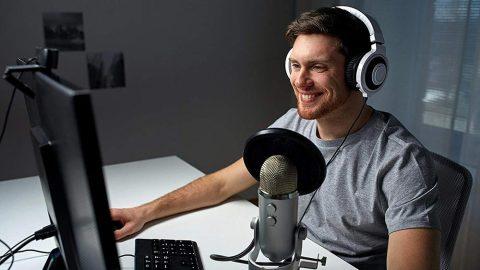
One of the important features when looking for a DSLR camera, beyond its ability to deliver extraordinary images and video, is its ability to record great audio. The camera’s built-in monaural microphone has been very disappointing for most professional and amateur filmmakers, vloggers, and content creators. I like to have the option of recording clean, crisp sound through the use of an external stereo microphone.
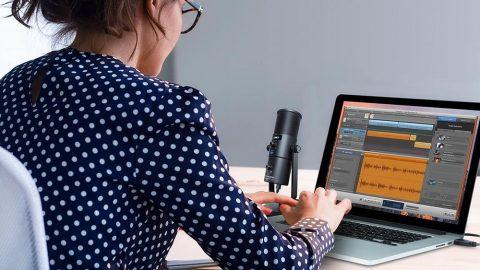
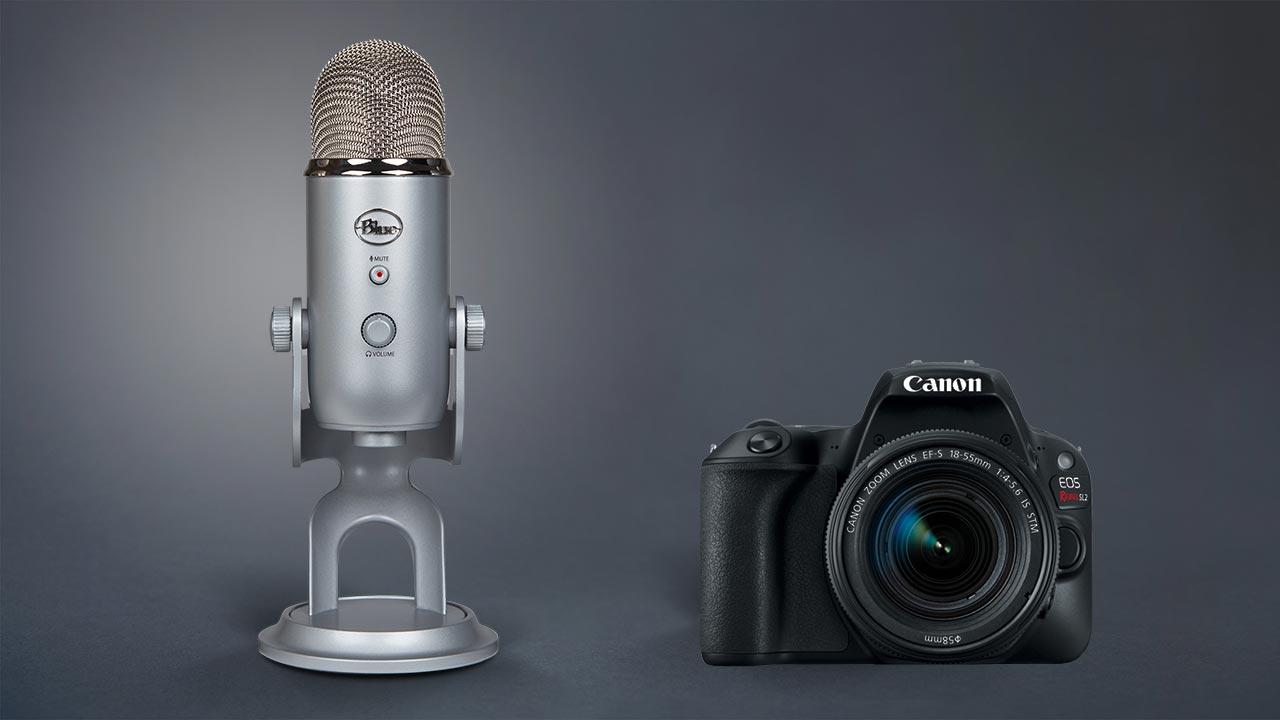
An external USB microphone is designed to be connected to a computer via USB, but what most people don’t know is that you can also connect a USB mic like the Blue Yeti to a DSLR camera like the Canon EOS Rebel SL3.
If you’re looking for a way to connect your USB microphone to a DSLR camera, you will need to follow these steps. First, make sure your USB microphone has a 3.5mm headphone output and your DSLR camera has a 3.5mm mic input. Next, you need the USB cable that came with your microphone, a computer, and a 3.5mm male-to-male stereo audio cable.
The Key to Connecting a USB Mic to a DSLR
Now that you have your hardware assembled, you need to connect the audio cables and provide the microphone with power.
- Connect one end of the 3.5mm male-to-male audio cable to the microphone’s 3.5mm headphone output.
- Attach the other end of the 3.5mm male-to-male audio cable to your camera’s 3.5mm mic jack.
- To power the microphone, plug the USB cable that came with your microphone into a computer.
How to Prevent Digital Distortion
A USB microphone contains all the elements of a traditional microphone. Still, it differs with its inclusion of a built-in preamplifier and an analog-to-digital converter that allows audio to be understood by a computer’s recording software. Since we are bypassing the computer as the recording device, the mic’s onboard preamp could output a very high signal and cause digital distortion in your recording. To prevent that from happening, we need to adjust the audio levels within the camera.
- On your camera, click the Menu button. As you may have guessed, this is where you can change many settings in your camera, but some options may be unavailable if you are in auto mode.
- From the onscreen menu, select “Sound Recording.” This allows you to control the sound recording as Auto, Manual, and Disabled. Change the Sound recording from “Auto” to “Manual” mode.
If the camera remains on Auto, the Automatic Gain Control (AGC) can automatically increase the level of the audio and produce a lot of buzzing and interference in your recordings.
How to Set Your Recording Levels
Recording audio in your camera at the incorrect levels can result in terrible sound. Here’s how to adjust the Recording Levels.
1. Select “Rec. level”.
2. Using the D-pad or touch screen, move the slider all the way to the left, but this can vary depending on the distance between the subject and the camera. Click “Set” to save.
Now we can control the gain or volume level on your actual microphone. Have your microphone in hand.
- Talk to the camera and monitor the left and right audio levels measured in decibels (dB).
- You can adjust the gain directly on your microphone.
Ideally, the sound should peak around the –12 range just below the green bar. Once that step is complete, you’re ready to record latency-free audio with your external USB microphone using a DSLR camera.
Are All USB Mics the Same?
Before choosing a USB microphone, you’ll first need to decide how you plan to use it. Not all USB mics are the same. Some are designed for live streaming games, while others are best suited for recording music or podcasting.
The three most typical uses for a USB microphone
- Gaming/Live Streaming
- Podcasting
- Music Recording
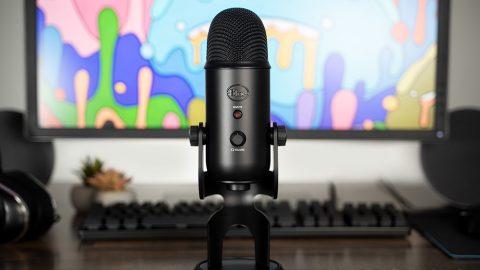
USB microphones have different characteristics and options to play with. For example, the Blue Yeti USB Microphone provides multiple polar patterns to choose from (cardioid, stereo, omnidirectional, bidirectional).

The biggest difference is how they use digital signal processing (DSP). DSP can tackle a number of sound quality issues in a signal and correct them. Some mics use DSP in moderation, while others use it quite a bit, and some do not at all. So knowing the intended purpose of a USB mic will help determine which will best serve your needs.
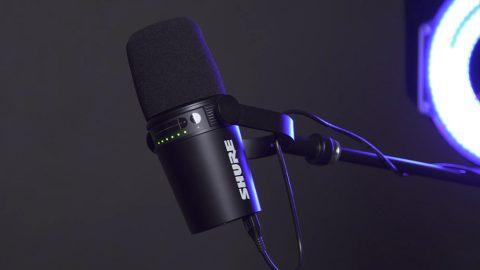
Dynamic vs. Condenser Microphones
The two main types of microphones are dynamic and condenser. Both are most commonly used in music recording but have become very popular in the home studio. They are available with either XLR, 3.5mm, or USB connectivity. Each one has its own advantages and disadvantages, depending on your recording needs.
Dynamic Microphones
Without being too technical, dynamic microphones are durable mics that use a diaphragm and a moving wire coil system designed to pick up the vibrations from sound waves sensitively. These mics do not require external power. These microphones are best at capturing high Sound Pressure Levels (SPL). This makes them ideal for musicians who need to record from loud sound sources like amplifiers in outdoor/live recording environments and should not be concerned about distortion.
Condenser Microphones
Condenser Microphones are sensitive and responsive mics that use a diaphragm and an electrically charged backplate system to pick up the vibrations from sound waves. Condenser mics come as small and large diaphragms and require a power supply. Since these mics don’t have moving coils, they have a greater frequency response and transient response. The audio quality in these mics is very accurate and strong without the need for a preamp. They work well with stringed instruments or recording vocals at a home studio.
Conclusion
You can connect an external USB mic to a DSLR camera using the correct audio cables and a USB cable for power. An adapter cable may help if your camera does not have a 3.5mm mic input. If your mic has digital distortion, set your recording levels and control the gain.
Remember, not all USB microphones are created equal. Dynamic and Condenser microphones have many similarities and differences. They have different options and features, so determine your recording needs before purchasing a new one. By following these steps, you can use your USB microphone with your DSLR camera to record great audio. Good luck!