Shure MV7 Review

The Shure MV7 is ideal for podcasters and singers who want to sound professional in a home studio without the need for an audio interface or mixer. Gamers and live streamers will love the included software, which automates the microphone gain and compression settings.
Pros
- Excellent sound quality
- Solid build quality
- Dual USB/XLR outputs
- Touch controls
- ShurePlus MOTIV app
Cons
- 1 polar pattern
- Price
- Thin windscreen
- Mic stand sold separately
- Lightning cable not included
The Shure MV7 costs $249, $150 less than the Shure SM7B‘s $399 price tag. Because the MV7 doesn’t come with a mic stand or mount, you’ll have to spend an extra $10 or more to position the mic in the right place. I highly recommend purchasing the mic/tripod bundle or the mic/boom arm combo. Of course, there are less expensive dynamic mics out there, but podcasters and musicians who don’t want to sacrifice sound quality will find the MV7 well worth the investment. The microphone comes in various colors to match your studio decor or personal style at an extra cost.
Key Specs
- Connection: USB, XLR
- Ports: 3.5mm aux out
- Condensers: Dynamic capsules
- Directional Patterns: Unidirectional Cardioid
- Size: 6.5 x 3.6 x 6 inches
- Weight: 1.21 pounds
Size and Weight
You can tell the Shure MV7’s weight is well-balanced right out of the box. The mic and adjustable yoke weigh in at 1.21 pounds. It isn’t going to tip over easily, and in the event that it does, its all-metal construction will protect it from major damage. When it comes to size, the MV7 is 6.5 x 3.6 x 6 inches but not as large as the SM7B. Compared to the Samson Q9U XLR/USB mic, the two mics are similar in size. If you have a small recording space, you’ll have to keep that in mind when thinking about how to include the MV7 into your setup. The MV7 is primarily designed to be installed on a boom arm off your desk due to its size and weight.
Pickup Pattern
The MV7 uses Voice Isolation Technology to pick up sound in front of the microphone, thanks to a dynamic capsule with a cardioid pattern. The cardioid pickup pattern is the most popular setting among consumer microphones due to its forgiving nature. Cardioid isolates voices directly in front of the microphone and reduces unwanted sound from the sides and back. This heart-shaped pattern produces a full rich sound, which is particularly useful for recording a podcast, vocals, voice-overs, and low-to-mid frequency instruments. MV7’s passive Voice Isolation Technology is an acoustic system of precisely constructed airflow that doesn’t require any software in order to work. In addition, audio signals from the USB and XLR outputs benefit from this technology.
Sound Quality
The Shure MV7 is ideal for podcasters who require broadcast-quality sound from their microphone. The mic has a frequency range of 50Hz to 16kHz and can record 24-bit audio at 48 kHz sample rates, which is the standard for editing and mixing broadcast audio.
Of course, being a dynamic microphone, it excels at recording at home or in a small studio with no acoustic treatment on the walls. The MV7 does an excellent job of not picking up a lot of reflected sounds like those that come from the hum of a computer or an air conditioner.
In USB or XLR mode, the MV7 has a terrific sound right out of the box, making it ideal for live streaming where users can’t tweak sound quality in post. The MV7 is TeamSpeak certified, so gamers can rest assured that they will be able to communicate with other players while online.
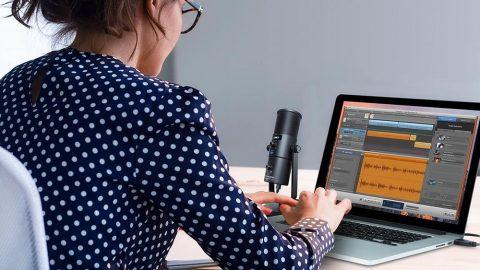
To get the best sound for your live streams, you can use the ShurePlus MOTIV software included with the mic. Auto Level Mode lets the software do the work for you, or you can set it to Manual Mode and customize it as much as you like. We’ll go through those settings in greater depth later in this review.
Keep a 4-inch distance between you and the microphone when speaking into your Shure MV7 for the best sound quality. Because the provided windscreen is somewhat thin, a pop filter is recommended to reduce plosives in your audio generated by ‘p’ and ‘b’ words.
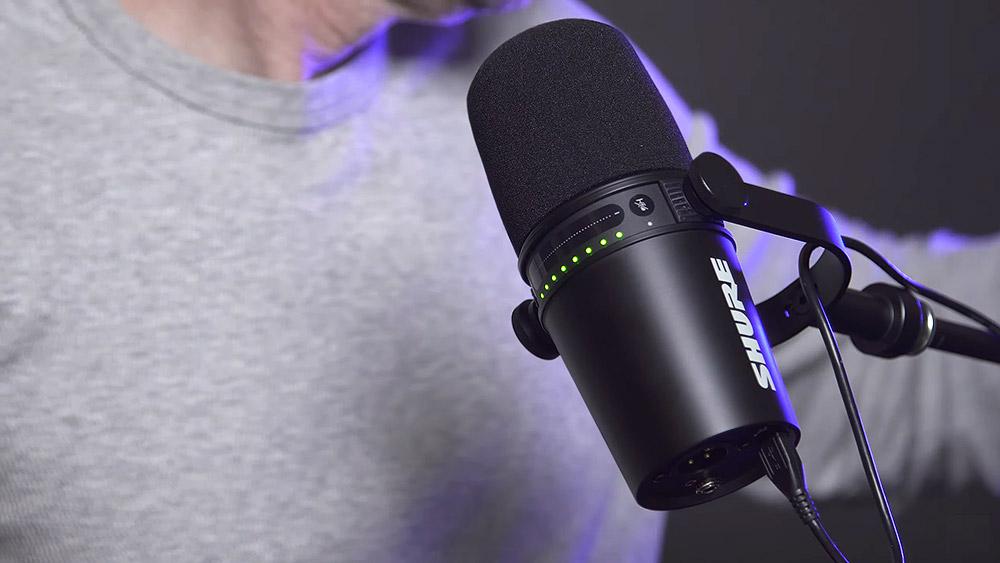
Gain Control, Headphone Volume, and Mute
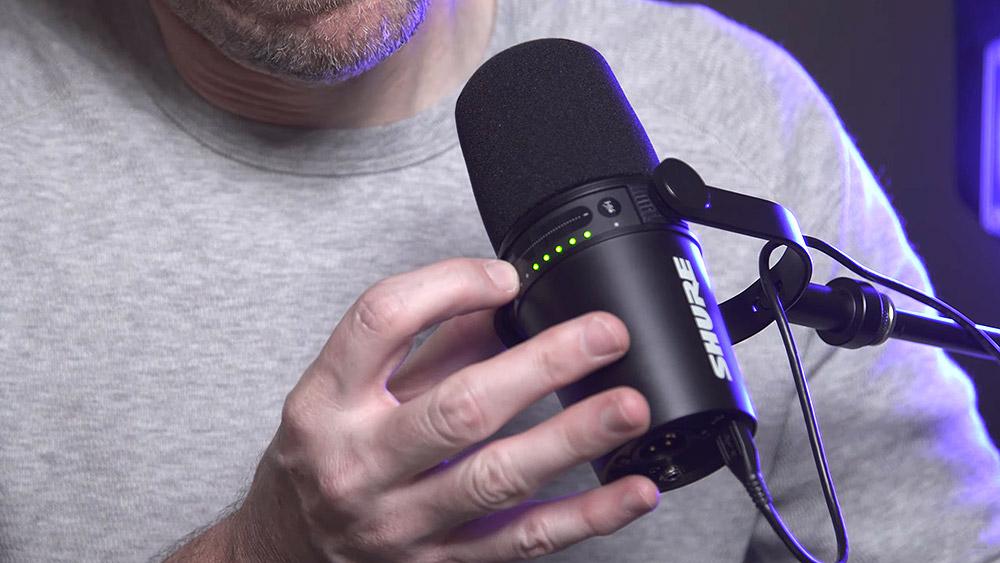
You can use the Shure MV7’s integrated touch-panel interface to adjust various settings. There is a dedicated control strip that runs along the edge of the pop filter on the top panel of the mic. Touch-sensitive controls for Mute, a slider for changing levels, and a button for toggling the slider function between mic gain (slider LEDs are green) or headphone volume (slider LEDs are orange).
A Lock icon locks or unlocks the control panel by pressing the Mute and Level buttons simultaneously. The lock prevents you from changing settings by accident once the control panel has been set up. In XLR mode, the onboard gain controls and headphone output will no longer work. The Motiv app will also stop working Because XLR is a pure analog signal with no digital signal processor.
Headphone Output, USB and XLR Connections
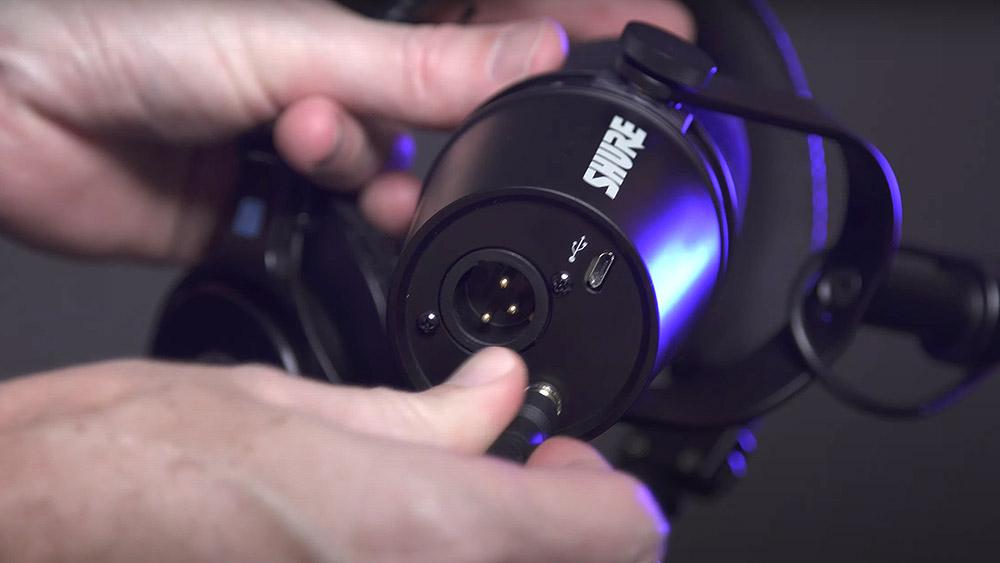
The Shure MV7 has a headphone jack on the bottom that allows for zero-latency real-time monitoring of your recording or streaming. You can also monitor your recording levels to avoid peeking, which is a vital function to have on a microphone. What’s unique about the headphone jack is that you can use it to monitor your mic levels and listen to your computer’s audio simultaneously. The bottom of the Shure MV7 also has USB and XLR connections. Two cables come included, a USB Mini Type-B to USB Type-A and USB Mini Type-B to USB Type-C both are compatible with both PC and Mac.
Shure MV7 Software

The MV7 comes with the ShurePlus MOTIV Desktop app, and it’s available for Mac and PC. The app allows you to adjust mic gain, monitor mix, EQ, limiter, compressor, and more. You can also save presets for different people or tasks. You can set the app to three different modes: Auto Level Near, Far, or Manual Mode.
Auto Level Mode
We recommend Auto Level Mode because it’s a quick ‘set it and forget it’ option that takes all guesswork out of gain and compression settings. Auto Level Mode will help you sound your best closer to the microphone. In Auto Level Mode, you can also select different DSP presets. You can set the distance from the sound source to the microphone as Near or Far. You can also choose your desired voice Tone as either Dark, Natural, or Bright.
Near
Near mode is ideal for podcasters, voiceovers, and YouTubers who want to record anywhere between zero and six inches away from the microphone to get that warm, rich broadcast tone. In Natural tone, your voice sounds the way it naturally sounds when you are near the mic. With Near mode and Dark tone, you’ll hear the low end of your voice increase significantly. As you go to Bright tone, your voice’s mid and top range is elevated. It’s a lot more clear and focuses more on clarity.
Far
Far mode means your microphone is farther away from the sound source. It’s recommended for voice recordings anywhere between 6 and 18 inches. This setting works well for YouTube videos or a video podcast when you want the microphone placed out of the shot. If you’re a gamer or streamer, this mode will give you more elbow room. Far mode has the same three tonal settings as Near mode, but they sound slightly different. With Dark tone, you should hear a lot of the low end, and Bright tone tilts it back the other way,, so you have more mid-range and clarity.
Manual Mode
The third way to use your MV7 is Manual Mode. Unlike Auto Level Mode, Manual Mode gives you a lot more control. This mode is for users who have recording experience, are looking for a specific sound, or don’t want the automatic microphone adjustments you get with Auto Level mode. Manual Mode offers Gain, Monitor Mix, Limiter, Compressor, and EQ filters (Flat, High Pass, Presence Boost, and High Pass with Presence Boost).
Shure MV7 Alternatives
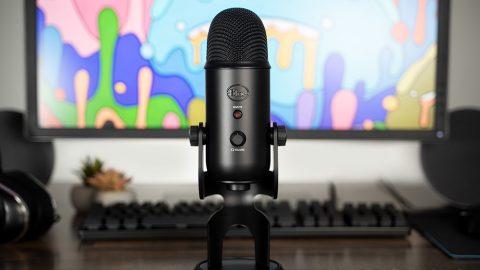
The Shure SM7B is a solid alternative to the Shure MV7, but if you’re looking for a USB microphone, there are other choices worth considering. The dynamic mics Samson Q9U and Audio-Technica ATR2100x have a lot to offer podcasters looking for a microphone to help them produce broadcast-quality sound. The Blue Yeti X and Elgato Wave 3 are most likely to be the favorites among streamers because of their ability to deliver clear audio to all listeners. For gamers, the condenser mics HyperX Quadcast S and Epos B20 simplify the conventional gaming setup and include helpful software to boost performance.
Final Thoughts
The Shure MV7 impressed me with its simple setup, broadcast-quality sound, zero-latency real-time monitoring, easy-to-use app, and affordable price. The MV7 has a USB port and a standard XLR audio output, which can be used simultaneously. This makes it perfect for podcasters, streamers, gamers, and singers recording without a studio audio interface. The MV7 has a touch-panel interface to adjust the gain, headphone volume, and mute. The ShurePlus MOTIV app gives users even more control with three different modes, Auto Level Near, Far, or Manual Mode.
While the MV7 may appear to be the only USB microphone worth considering, there are alternatives to consider. The Shure SM7B is an obvious alternative for those considering an XLR-only microphone. However, the MV7 is $150 cheaper than the SM7B if you don’t include the cost of a mic stand, tripod, or boom arm.
Is Shure MV7 worth it? The MV7 gives you what you need if you’re looking for a versatile, dynamic USB microphone that offers flexible connectivity and fantastic sound quality. I can confidently say the MV7 lives up to the hype.