How To Use USB Mic On Xbox One: A Step-by-Step Guide
Game streaming has never been more popular, and with consoles like the Xbox One, there’s never been a better time for gamers to connect with people all over the world. When it comes to online multiplayer games, having a microphone can be crucial. It allows players to engage with friends and communicate information with teammates, giving them an advantage in the game.
If you own an external microphone, however, you’ve undoubtedly had difficulties getting your USB mic to work with the Xbox One. This issue is due to the Xbox’s USB ports not natively supporting audio input.
The good news is that there is a solution. We’ve found an easy workaround that will allow you to use your USB mic with the Xbox One and stay competitive online.
Can You Use A USB Mic On Xbox One
The Xbox has USB 3.0 ports for connecting accessories such as game controllers and the Kinect Adaptor. Audio inputs such as microphones are not supported natively by the ports. If you plug a USB microphone into the console directly, it will get power but not be able to send audio. As a result, to passthrough audio to the console, you must use an Xbox One controller. Here’s what you need.
What You Need
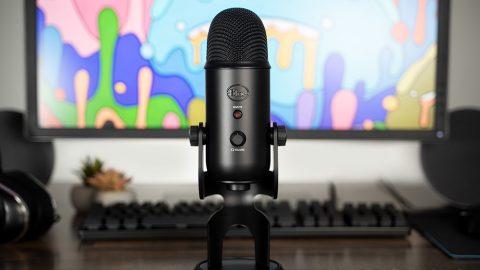
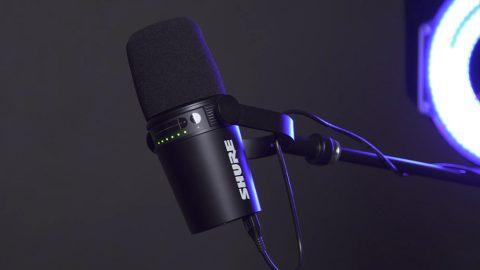
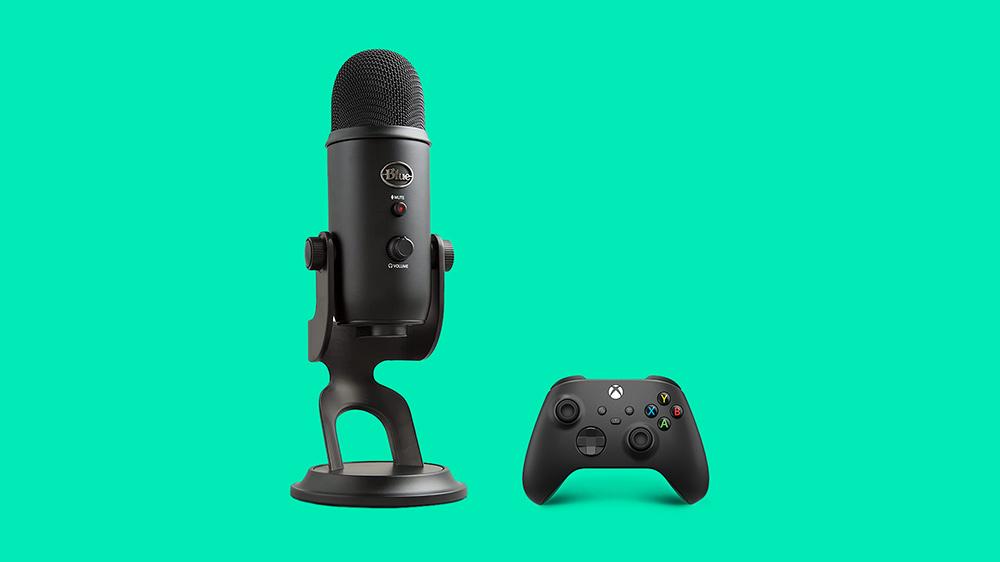
First, you need a USB microphone. If you don’t already have one, the Shure MV7 USB microphone and Blue Yeti USB mic are great for recording and streaming audio. Whichever microphone you choose, it must have a volume control knob so that you can control the output manually. The volume control allows you to control how you sound and how you sound to others. Xbox makes you do all this manually. Your mic must also have a 3.5mm headphone output to connect an additional auxiliary cord.
Now let’s go over all the things you’re going to need in addition to a USB microphone. You’re going to need the Xbox One Stereo Headset Adapter or, alternatively, the Turtle Beach Headset Adapter to connect to your Xbox controller. I recommend the Xbox One adapter over the Turtle Beach audio controller because it works well and sounds excellent with more microphones.
Next, you’re going to need an Audio Splitter 3.5mm Male to Female with labels for headphones and a microphone. The splitter is required to connect to your headset adapter. Next, you’ll need an additional 3.5mm Auxiliary Audio Cable to plug into the splitter cable’s mic end and the other end of the cable into your microphone’s 3.5mm headphone jack.
Last, you’ll need to use headphones with an audio cable. Sony’s WH-1000XM4 Wireless Noise Canceling Headphones come with an audio cable, and they sound great. You will need to plug the audio cable from your headphones into the end of the audio splitter labeled headphones. Using a gaming headset with a microphone is not suggested because it may confuse the audio output of the microphone and headset. Check out these easy steps to connect Bluetooth headphones to the Xbox One.
How To Connect USB Mic To Xbox One
Now that you have everything you need to use a USB mic with the Xbox One, let’s walk through the steps:
- Plug your USB Microphone into the USB port of your Xbox One for power.
- Connect the Xbox One Stereo Headset Adapter into the back of your Xbox One controller.
- Plug in the male end of the Headset Adapter Audio Splitter into the Xbox One Stereo Headset Adapter.
- Take the 3.5mm Auxiliary Audio Cable and connect it to the microphone end of the Headset Adapter Audio Splitter.
- Take the other end of the 3.5mm Auxiliary Audio Cable into your USB microphone’s 3.5mm headphone jack.
- Plug your headphones into the headphones end of the Headset Adapter Audio Splitter.
- Use the Xbox One Stereo Headset Adapter buttons to increase or lower the overall game and chat volume.
Now that everything is connected, your Xbox will separately detect your microphone and headphone audio. You can now speak to other gamers with your microphone while listening to chat and stereo game audio directly through your headphones when you go online. Find out how to connect an external USB mic to a DSLR camera.
How To Fix Mic Lag On Xbox One
Even if your internet connection is fast, you may notice audio delays when using the Xbox One. When gaming, microphone latency occurs when there is a delay between speaking into your microphone and hearing your voice over the stream. Not only is mic lag frustrating, but it can also negatively affect your performance in the game. Your teammates may hear callouts too late if your voice is out of sync with your actions. A delay in audio can cause many issues when you play with others online and even cause you to lose the game. Fortunately, there is a fix.
- Load your game
- Press the round X button once to open the guide on the Xbox console.
- Load Twitch
- From the top menu, select Broadcast
- Allow your Camera Position to load
- Select Start Streaming
- Return to your game
- Unplug the audio cable from your Xbox controller that connects to your headset, headphones, or microphone.
- Plug back in your audio cable back into your Xbox controller.
Your controller will re-synchronize in a few seconds, and Xbox will line up the audio in your headset and webcam. These steps will eliminate the delay between speaking into your microphone and hearing your voice over the stream.
How To Fix Mic Echo Xbox One
Using an internal microphone with an Xbox One can cause an echo at high volumes. Try using a gaming headset with a boom mic to fix mic echo problems. If other party chat players complain about their voice echoing back to them when they talk to you, turn down the volume on your headset one notch. If one notch doesn’t work, try two. If everyone else in your party is echoing, your Xbox’s Party chat audio may be set to output simultaneously to both headset and speakers.
To adjust the Party chat output setting:
- Press the round X button once to open the guide on the Xbox console.
- Next, select Settings.
- Select General.
- Then choose Volume & audio output.
- Go to Party chat output.
- Change to Headset.
Now party chat will come through the headphones only, and you should no longer experience an echo.
How To Make My Mic Louder On Xbox One
If you’re using an official Xbox One headset or headset adapter and want to modify the level of incoming voice chats, it couldn’t be easier. The “+” and “-” buttons on the right-hand side of the section that plugs into your controller increase and lower the volume. If you don’t have an official headset or adapter connected to your Xbox One controller, follow the steps below to adjust the incoming voice chat volume:
How to change incoming voice chat volume on Xbox One
- Press the Xbox button with your headphones connected.
- Select the System tab.
- Choose Audio from the menu.
- Set the Headset chat mixer to your liking.
- To boost game audio, slide the bar to the left.
- To emphasize chat audio, move the bar to the right.
How to change outgoing mic volume on Xbox One
- Press the Xbox button with your headphones attached.
- Select the System tab.
- Choose Audio from the menu.
- Change the Mic monitoring setting.
- To lower the microphone volume, slide the bar to the left.
- To increase the microphone volume, slide the bar to the right.