How to Connect AirPods to HP Laptop

You’ve probably noticed that pairing your AirPods with a MacBook is pretty straightforward, but pairing them with a Windows computer, such as an HP laptop or desktop, is far more complicated. It’s not your fault. Apple has designed AirPods to work seamlessly across all their modern devices. Since AirPods use Bluetooth, however, they can connect with any Bluetooth-enabled device.
As a result, AirPods can be used with Windows laptops and desktops, but only if they have Bluetooth connectivity. Since all modern HP laptops support Bluetooth, you can use AirPods with an HP laptop instead of, or in addition to, a MacBook.
How to Connect AirPods to HP Laptop
Here’s how to connect your AirPods to your HP laptop or desktop.
- Navigate to your Windows 10 taskbar and click the magnifying glass icon.
- In the search field, type Bluetooth, then select Bluetooth & other devices.
- You’ll need to make sure that Bluetooth is enabled.
- If Bluetooth is in the Off position, move the toggle to the right to turn it On.
Before you move forward, you’ll need to prepare your AirPods for pairing.
- Bring your AirPods close to your laptop.
- Open the AirPods case.
- Press and hold the white pairing button on the charging case.
- The status light on the front of the case will flash white a couple of times.
- Release the pairing button.
Leave the case open to keep the AirPods in pairing mode. If you close the case, you will have to repeat the process.
- In Windows, click on the Add Bluetooth or other device button.
- Under Add a device, select the Bluetooth option. It may take a few minutes as Windows tries to detect your device.
- When Windows finds your device, double-click on the name of your AirPods from the list of discovered devices.
- Wait for the AirPods to pair with your HP laptop or desktop.
- Once it’s connected, click Done.
Your AirPods will automatically reconnect to your laptop the next time they’re in range. You can also manually disconnect them.
AirPods Not Connecting to Windows 10
You may need to manually change your computer’s default speaker if you have AirPods not connecting to Windows 10, laptop, or PC. These steps will help you resolve the issue:
- Type Control Panel into the Search Box in the taskbar.
- In Control Panel, select Large icons from the View by drop-down menu.
- Then select Sound.
- Select the Playback tab, then highlight your AirPods.
- Set your AirPods as the default speaker by clicking the Set Default button.
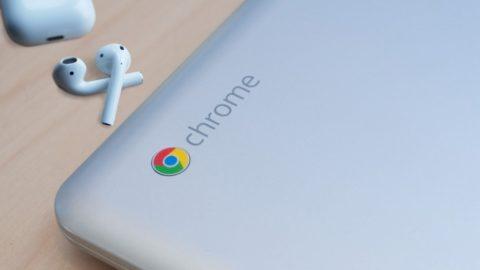
Your laptop will now use your AirPods for audio output instead of the default speakers on your computer. Learn how to connect AirPods to Chromebook.
How to Unpair AirPods
If you’re still having a difficult time connecting your AirPods to your laptop, you may need to unpair them from your iPhone, iPad, and other devices. Your AirPods have likely become overloaded by the number of connections they’ve made if you use them with several devices. AirPods may stop pairing if they are connected to too many devices.
Disabling Bluetooth on your other personal devices is the most effective way to ensure that your AirPods aren’t malfunctioning. If you frequently use your AirPods with your phone, try briefly turning off your phone’s Bluetooth. Disabling Bluetooth on your phone will help your AirPods connect to your computer by reducing signal interference. Repeat the process with your other devices until your AirPods successfully connect.
Here’s how to unpair your AirPods from the iPhone or iPad.
- Open the Settings application.
- Toggle on Bluetooth.
- In the Devices list, tap the “I” icon next to your AirPods.
- From the drop-down menu, select Forget This Device.
- To confirm, tap Forget Device in the pop-up message.


